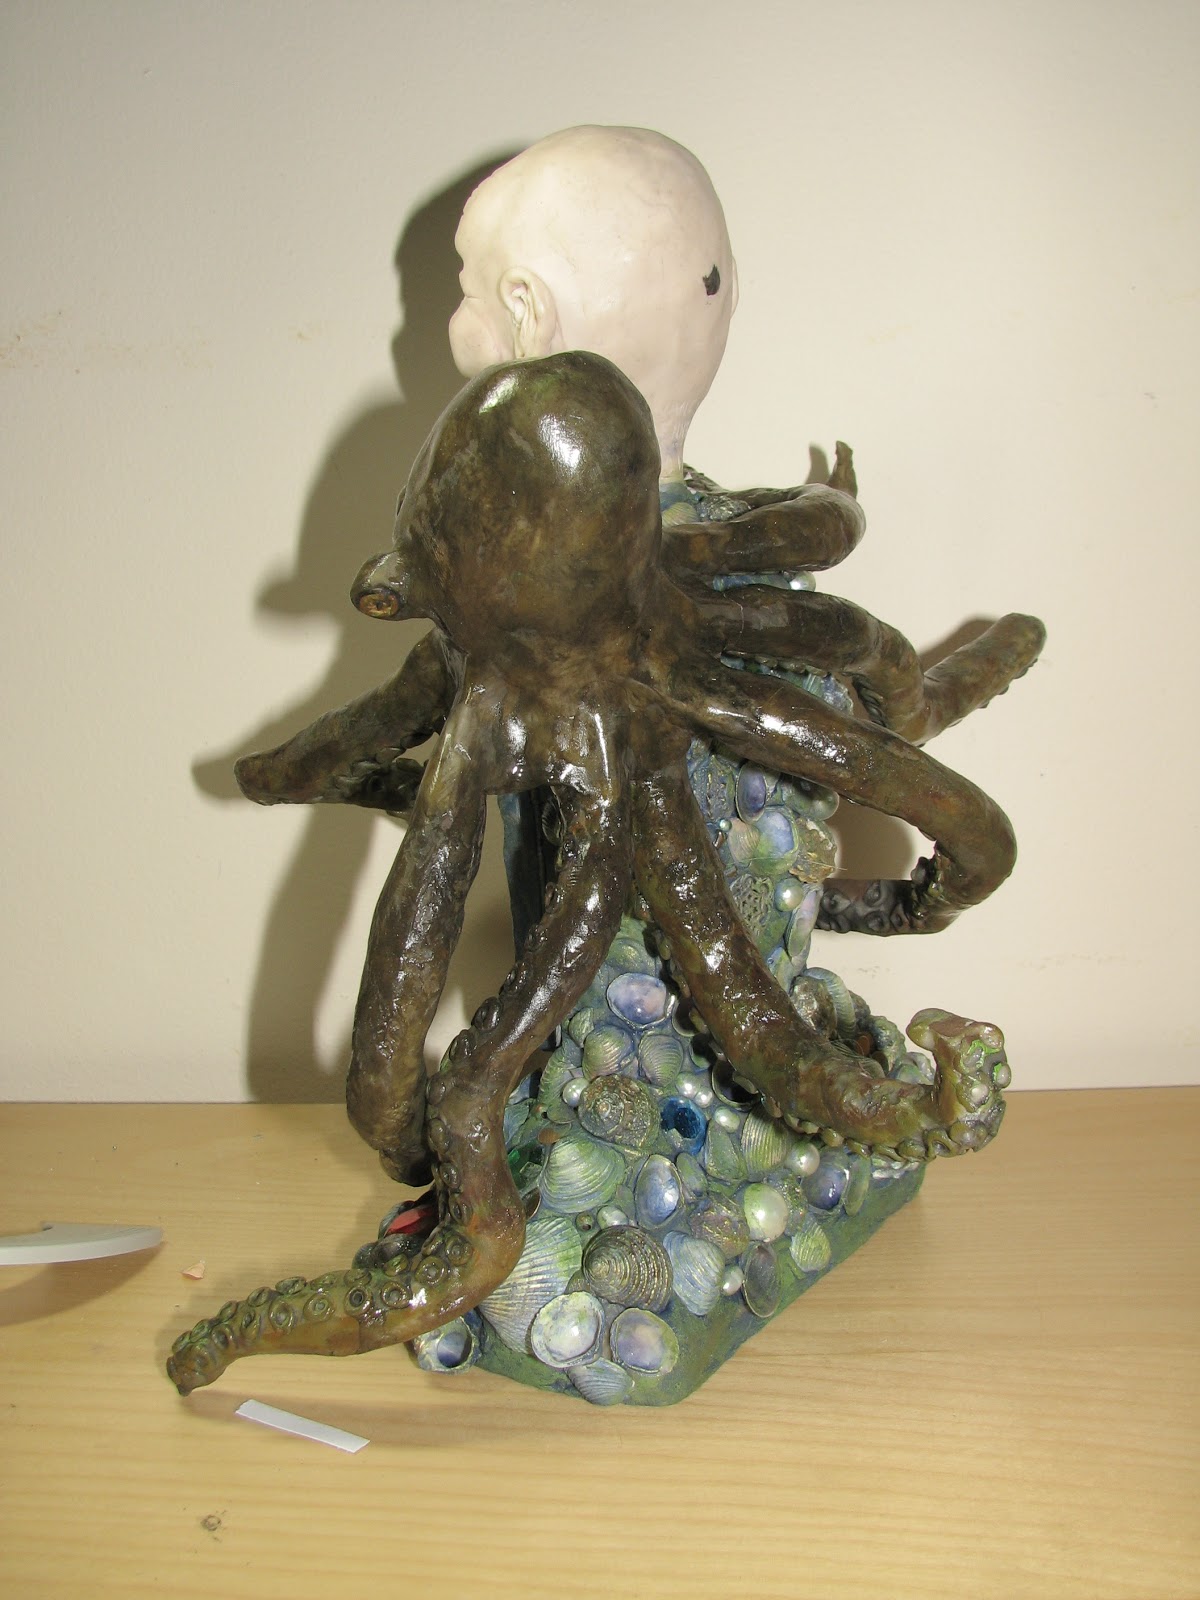
It's too true, and so many questions about success are answered by the very simple phrase "A picture tells a thousand tales".
I've been struggling with photographing my work since I started selling my work on line. I've bought several cameras, took classes and tried different lighting. Knowing that the picture is the first impression when selling online is key to your success and it's a lesson I'm still struggling with. You can write great copy and promote like crazy but remember your online buyer can't pick up your item or look closer so you need to tell the tale with pictures. GREAT PICTURES! Pictures that make you want to click through and look closer and hopefully be so entranced that they will buy your creation.
So, in an effort to knock down that final hurdle to success, I finally consulted with, lucky for me, a truly wonderful photographer. I think he took pity on me and my dollies and graciously agreed to take pictures of some of them for me. I've shared some of his work in my post yesterday but I want to share them all. Everyone of them is a treat for me! They make me take great pride in my work. They are crisp and clean and amazing. They make me shake my head and say wow! I did that? That's my creation?
I take photos along the way as I make a doll, it documents my process so I can share them with your but when it comes to the final finished photos? Well, a picture is worth a thousand words.
Ron's Tips:
"Using proper camera and lighting for portraiture, in this case for documenting different perspectives and details of dolls, is important in order to market the artist's work and relay their vision. Today anyone can easily take a picture, but very few pictures are photographs worth noting. The artist's responsibility is to make their work stand out from others and good photography does just that. If one takes great pride in their work, then it goes that one should take the necessary strides to market that work to potential buyers with beautiful imagery, and beautiful imagery sells."
The following photos are from Ron Jocsak's websites you really must visit to see the spectacular images! Please respect his copyright and do not remove his watermark or reuse the images in any way.
A portrait is about capturing the character or spirit of individuals, which is why having a portrait taken should feel like the most natural thing to do... the result is often extraordinary! I provide portrait photography for home pages, magazines, brochures, corporate websites, families, and special events. My clients receive the portraits in digital format for print and web, and I can deliver print for archive and/or framing as well.
In Business ... "a great corporate portrait is important... it relays confidence and trust, demonstrates approachability, communicates professionalism and expertise, and contributes to brand recognition that translates into sales".
For Personal and Family ... "creative family and individual portraits capture important milestones in people's lives that may never occur again. New arrivals, special occasions, candid moments and group gatherings offer wonderful opportunities to delight in, and later, to reflect back on these special times".
My photography is characterized by simplicity, and clear, uncluttered images.
Nature, with all it's inherent beauty, has always influenced my life. I have unique perspective and understanding of our planet's geography, geology, and geomorphology, having been a petroleum geologist for nearly 25 years. My geologic passion fostered my passion for photography early on and I continue to hone my skill set and vision as a professional photographer. My interpretative fine art and contemporary landscape imagery has evolved through an appetite to explore and document striking landforms, textures, earth tones and ambient light. It is an expression of my respect and love at the land-water-atmosphere interface.
My art can be captivating, symbolic and unique. Nature constantly provides new material for my creative thinking and inspiration. It is always slowly evolving and changing... in a manner not too different for the change and adaptation required in the human process.